 SA
SA  KW
KW  IE
IE AU
AU UAE
UAE UK
UK USA
USA  CA
CA DE
DE  QA
QA ZA
ZA  BH
BH NL
NL  MU
MU FR
FR 


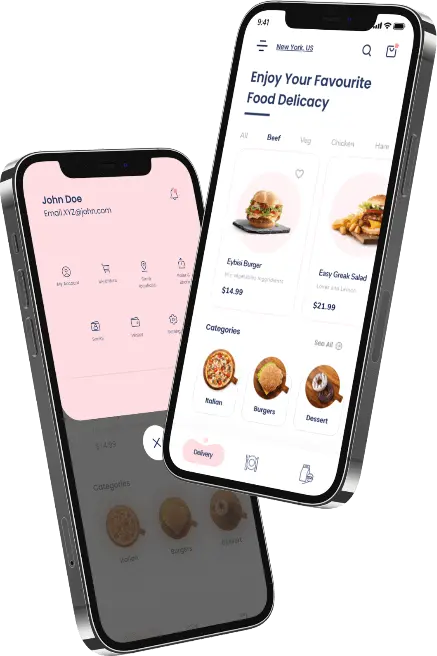
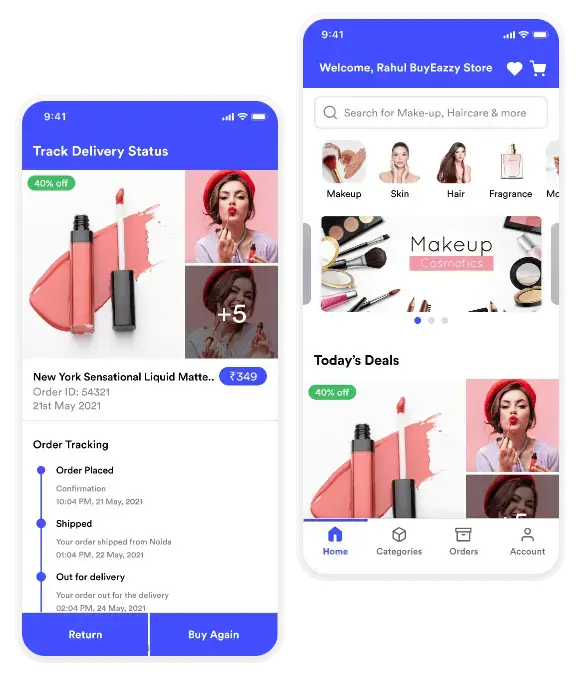
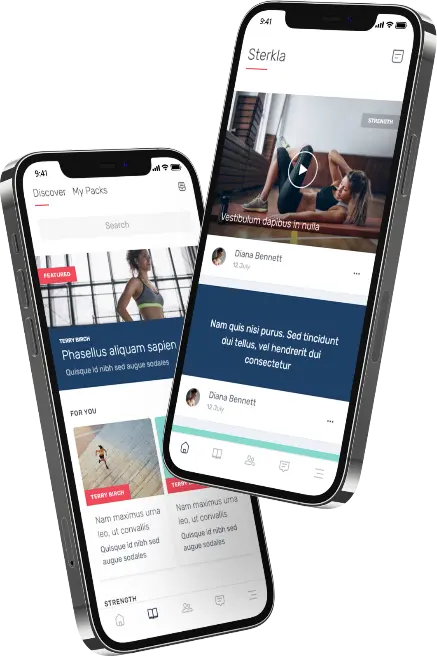
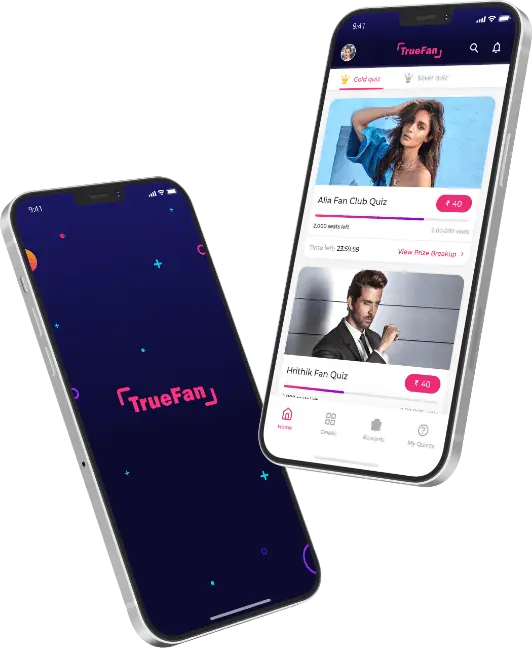
You get a concept in your brain, you take it to the top mobile app developers, and they give oxygen to your lifeless concept. And finally, after months of hard work and dedication from you and your iOS app developers, the final product is ready to go live.
But are you worried about how to submit an app to the App Store? Curious to know, are there still some flaws in your application? To ensure the best for your mobile app, this App Store submission guide will walk you through the process step by step.
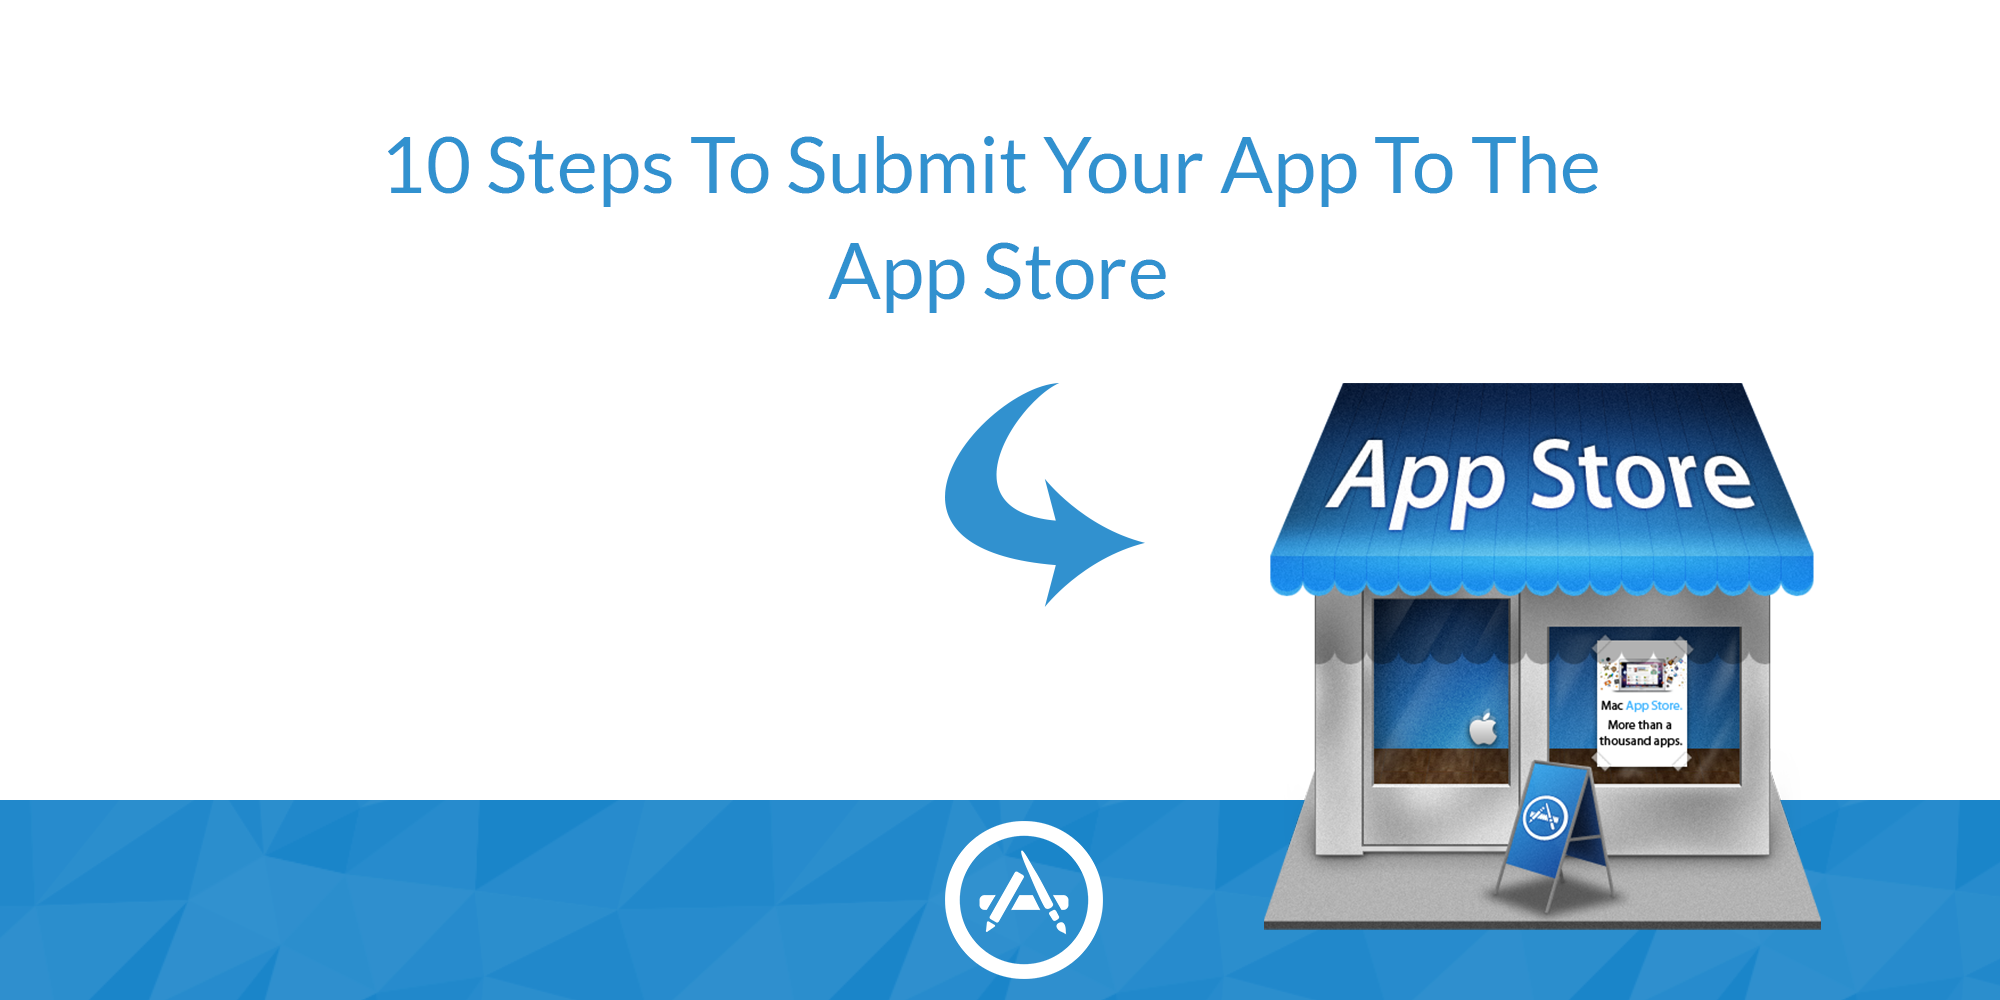
10 Steps to Submit Your App to Apple’s App Store
Let’s go through all ten steps one by one –
- Step 1: Follow the iOS Rules & Guidelines
- Step 2: Gather The Apple Prerequisites
- Step 3: App ID
- Step 4: Get a Valid Distribution Certificate
- Step 5: Create A Provisioning Profile
- Step 6: Release Build
- Step 7: Version Information
- Step 8: Submission
- Step 9: Upload Binary
- Step 10: Review Process
Step 1: Follow the iOS Rules & Guidelines

Once you have written that last wonderful code and implemented that much-awaited terrific application feature in your mobile application, you have got to do much more, your job does not end with it, but the actual trip to the final destination, begins from here, that is testing your application on more than one physical device, and you need to follow the iOS Human Interface Guidelines and the App Store Review Guidelines.
Apple is very particular about its guidelines, and if you miss something, your app will face rejection from Apple, so sift down the pool of guidelines religiously. Get your app tested on iPhone as well as on iPad too, it will ensure your app succeeds substantially in the app store and will guarantee a better score of downloads.
Today, Apple has even introduced AI-powered app review filters that pre-screen apps for compliance before human review. This makes guideline checks more important than ever.
Step 2: Gather The Apple Prerequisites
The next thing you need to gather is the prerequisites, which include – an App ID, a valid distribution certificate, and a valid provisioning profile. These prerequisites are the foundation of the iOS app submission process and ensure smooth onboarding.
Step 3: App ID
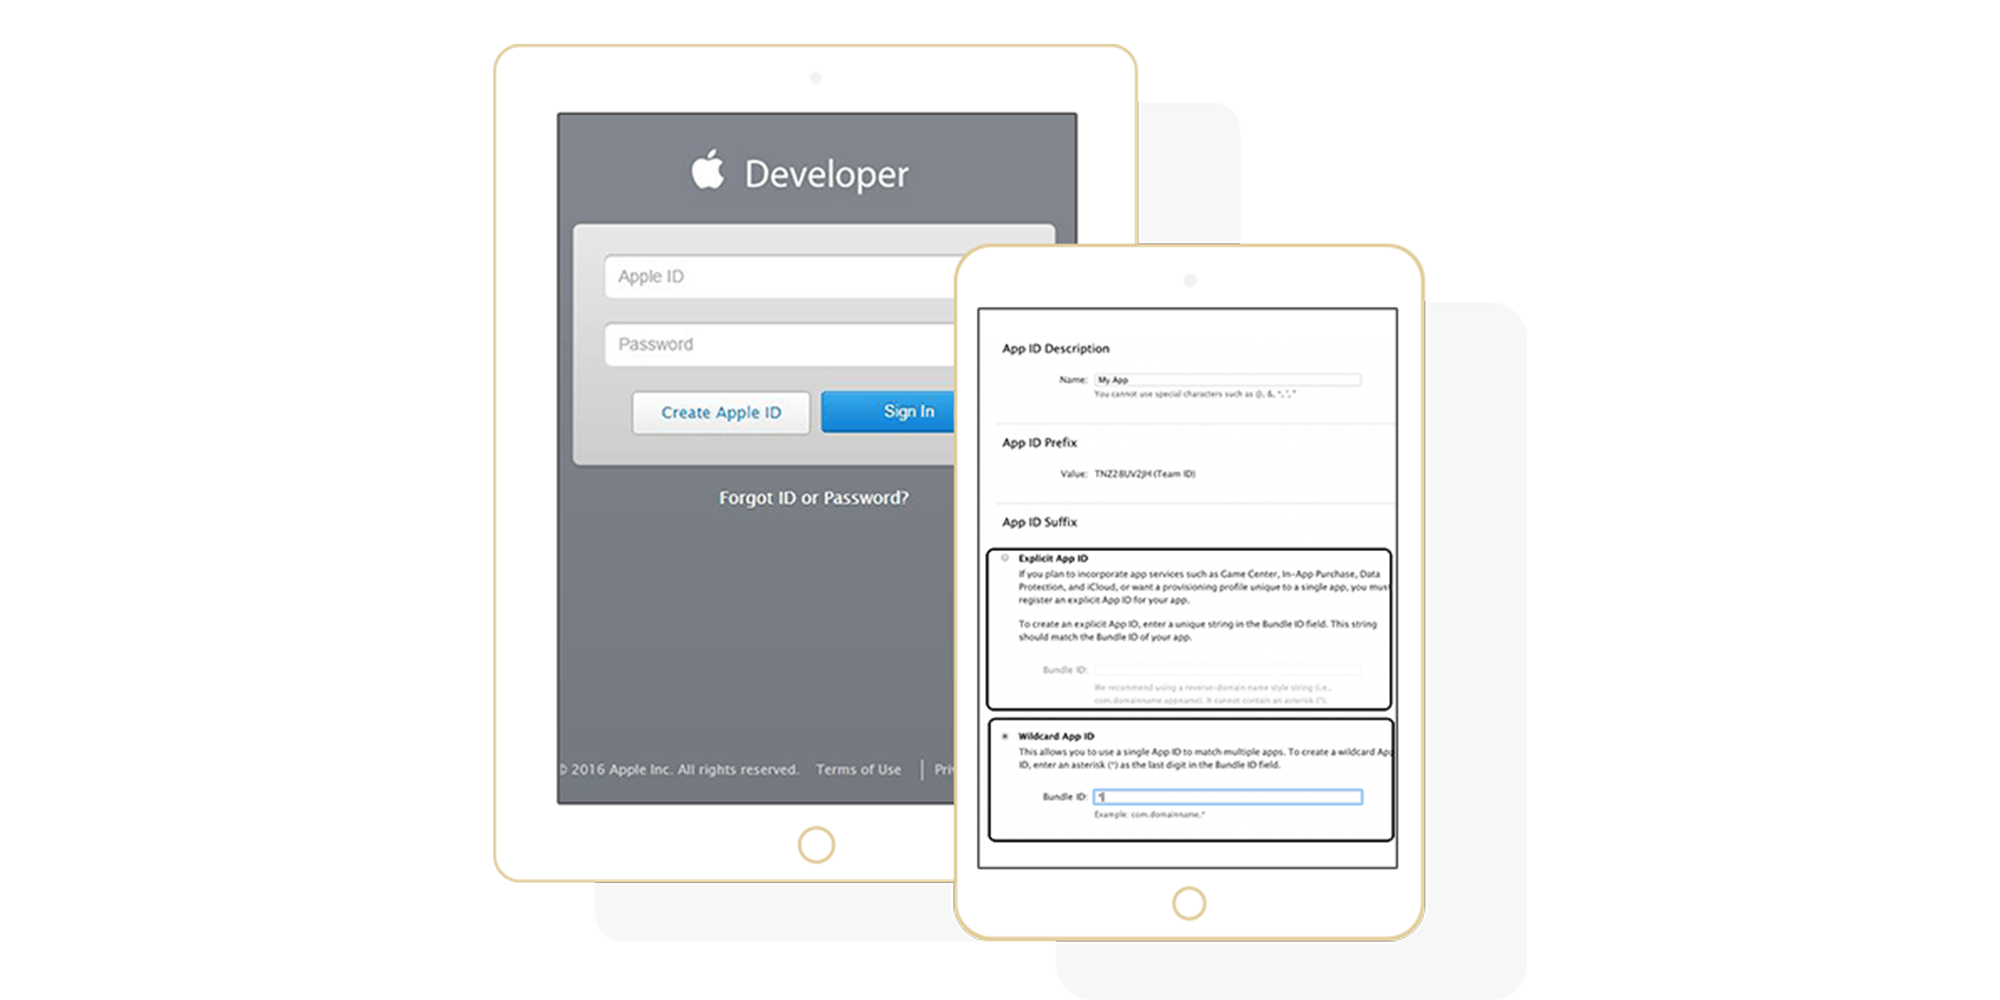
App ID or Application Identifier is a must for every mobile application, it can be of two types: an explicit App ID & a wildcard App ID.
- Explicit App ID is utilized if a mobile application is based on iCloud or has got iOS features like Game Center, Apple Push Notifications or In-App Purchase.
- Wildcard App ID is used for building and installing multiple applications.
Choosing the right App ID also impacts future app store optimization (ASO) and updates.
Step 4: Get a Valid Distribution Certificate
In order to submit an application to the App Store, first you need an iOS provisioning profile for distribution, and to get the distribution profile, you require the distribution certificate. The process is similar to creating a development certificate.
Step 5: Create A Provisioning Profile
After following the last two steps, you may proceed to create an iOS provisioning profile. The ad hoc distribution profile can only be used if a wildcard App ID is used for the project, else you need to create a different provisioning profile for App Store distribution.
Step 6: Release Build
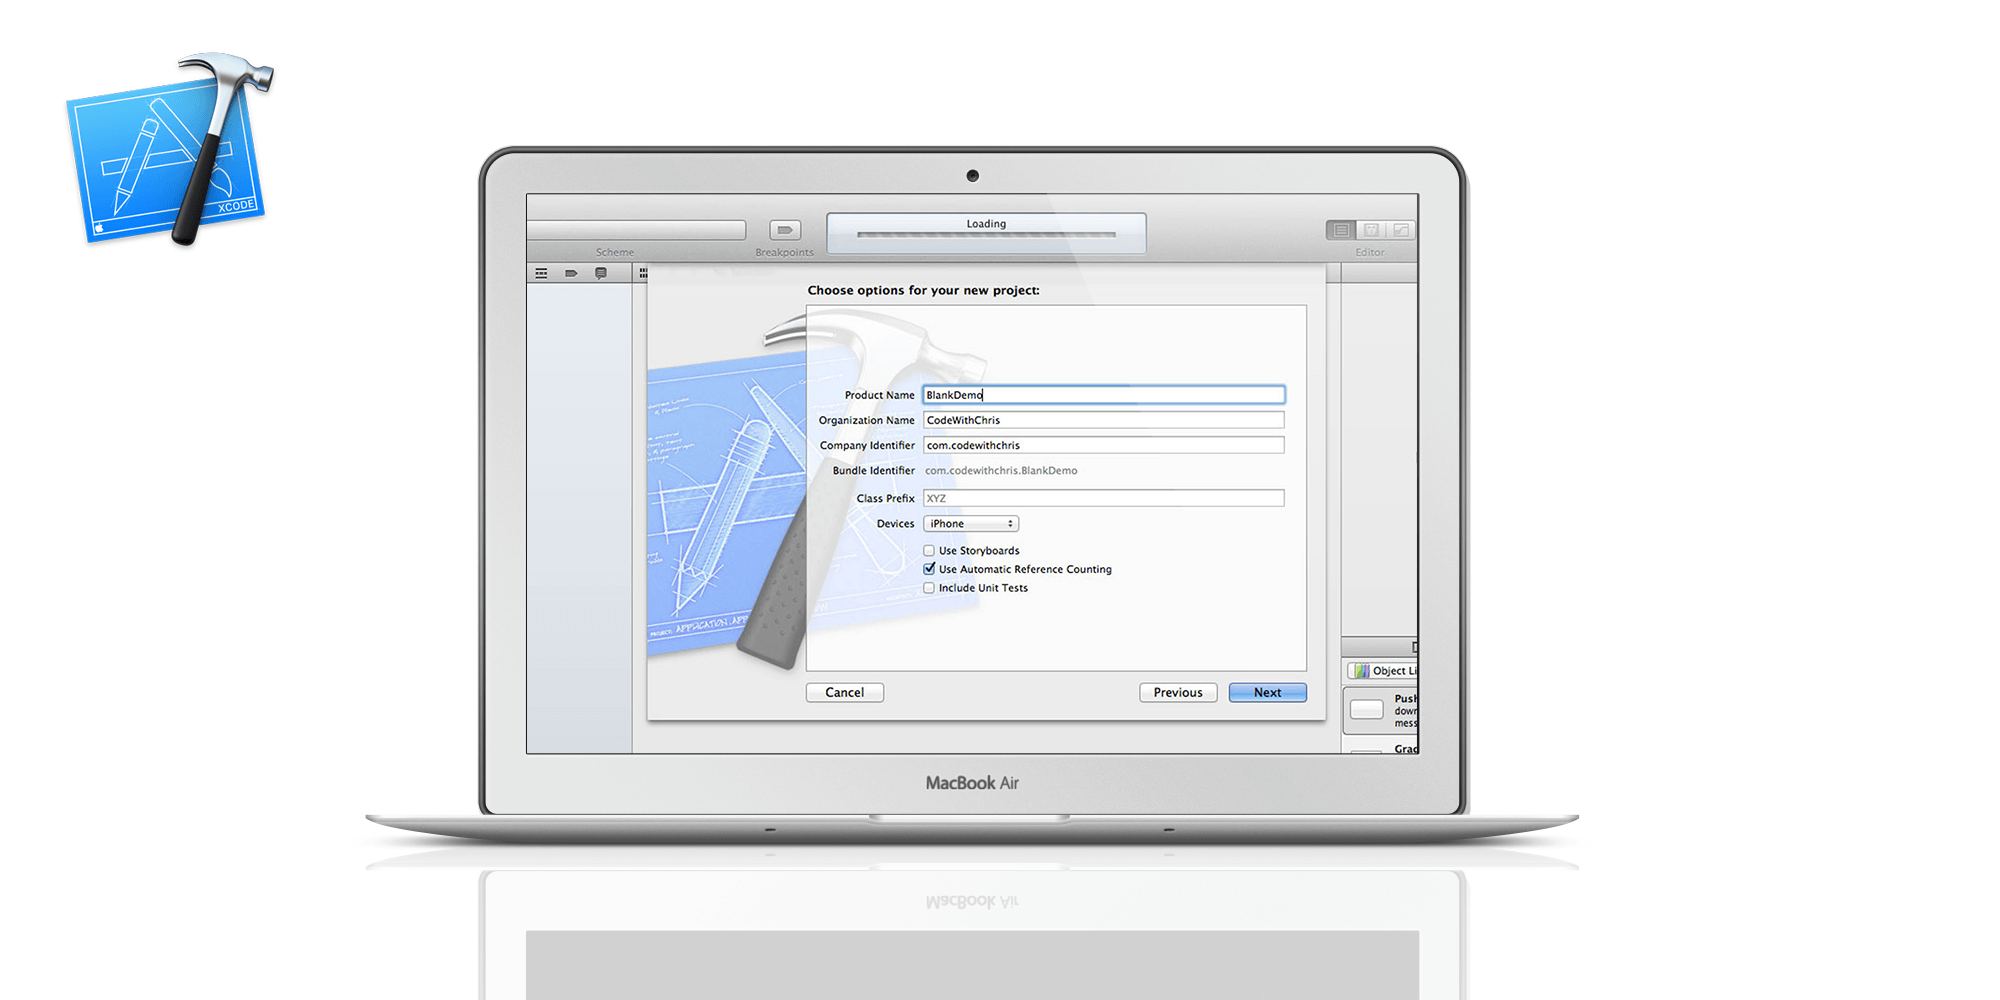
- Select the target from Xcode’s Project Navigator
- Open the Build Settings at the top
- Update the settings in the Code Signing
- Match the distribution provisioning profile
Note: Sometimes, provisioning profile is not visible in the Code Signing section of the build settings; you may quit and relaunch Xcode to view it in the settings.
Also, you can write in Deployment Target, it works as user guidelines for the users, to tell them briefly about the application and its update-related guidelines. You can write a few words about your application’s deployment target, which may include the minimum version of the operating system required for the application to run. It is useful for your users, so they would be informed in advance, to prevent potential problems in the future.
AI-based debugging tools now assist developers in spotting mismatches or provisioning errors before submission.
Step 7: Version Information
Icon Artwork
Every iOS application is needed to be shipped with the correct sizes of the artwork. Here is a reference list:
- iTunes Artwork: 1024px x 1024px (must)
- iPad/iPad Mini: 72px x 72px and 114px x 114px (must)
- iPhone/iPod Touch: 57px x 57px and 114px x 114px (must)
- Search Icon: 29px x 29px and 58px x 58px (optional)
- Settings Application: 50px x 50px and 100px x 100px (optional)
Note: If the targeted app is for iPhone/iPod Touch device family, then do not include an application icon for the same.
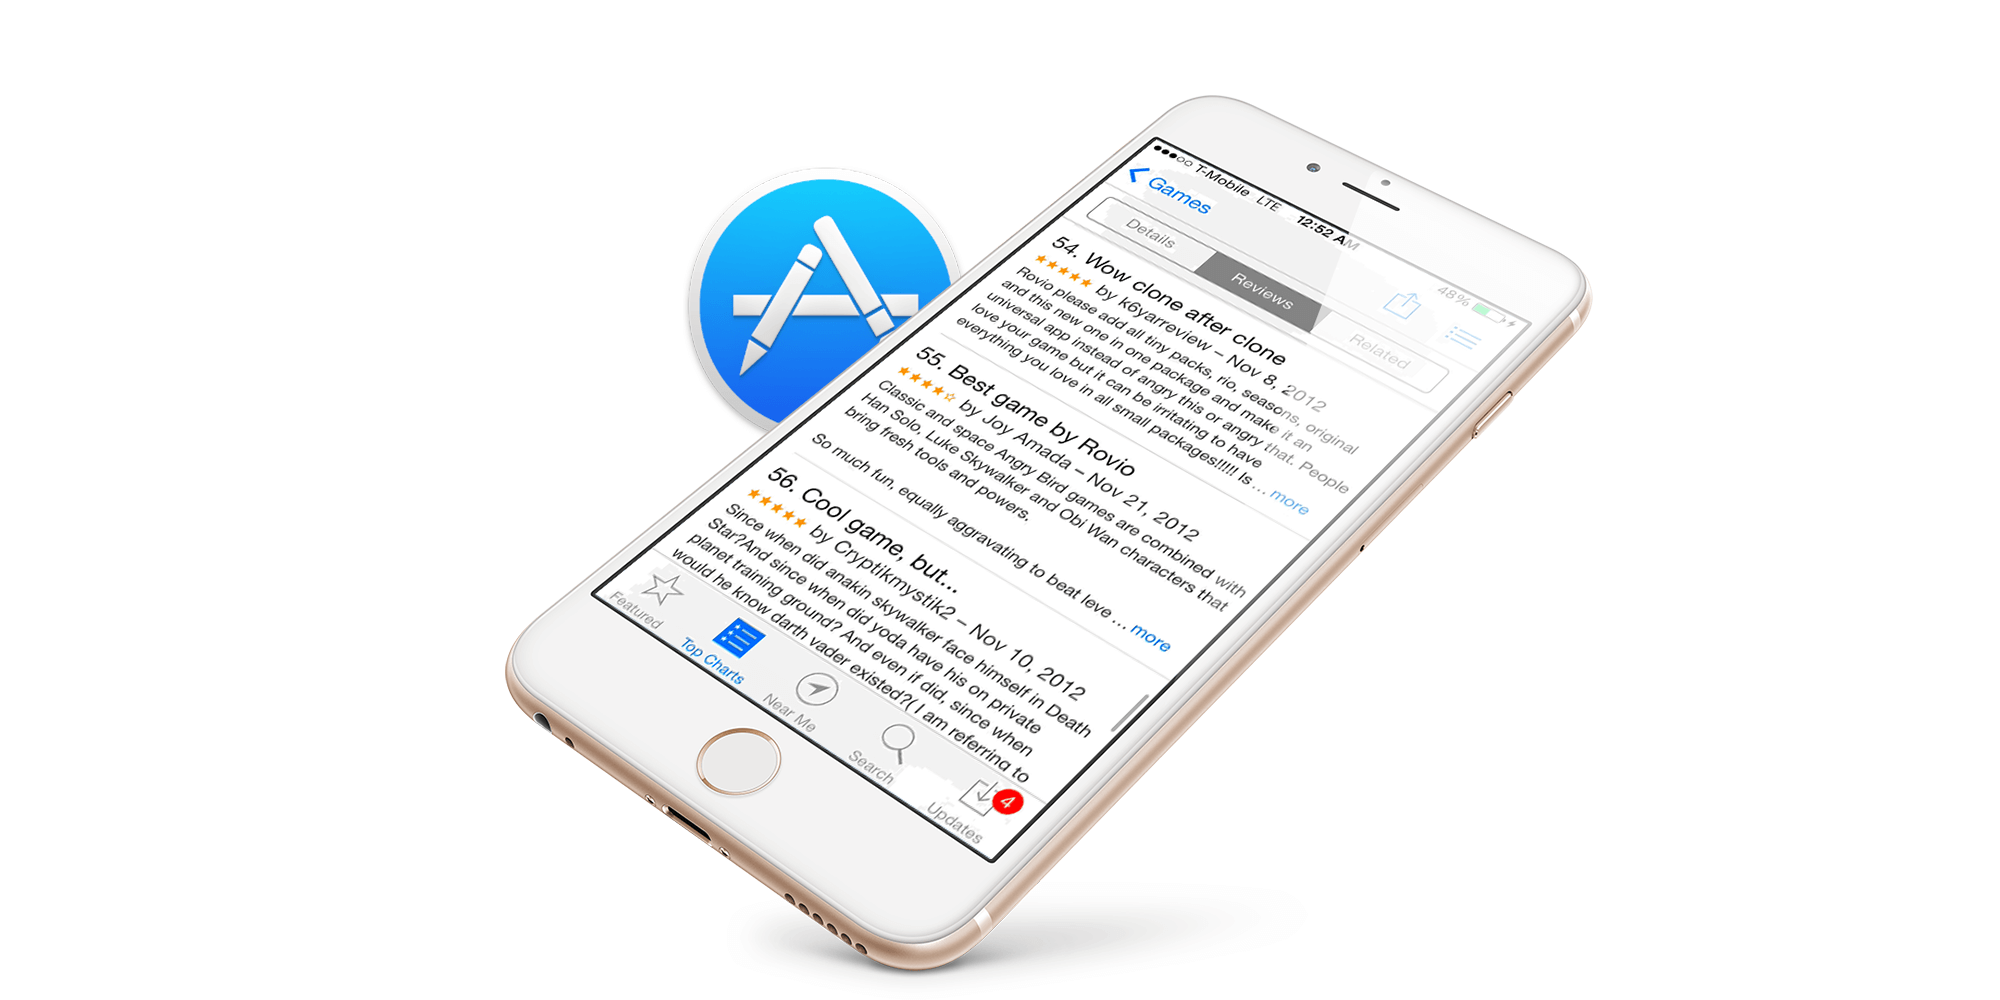
Screenshots
Screenshots work as another interesting marketing tool for app business, since it tells the user, what your app is all about. Add separate screenshots for an iPhone/iPod Touch and iPad/iPad Mini and you can optionally include separate screenshots for the 3.5″ and the 4″ screen sizes of the iPhone/iPod Touch.
Metadata
Application’s Metadata includes: application’s name, the version number, the primary and an optional secondary category, a succinct description, keywords, and a support URL. You can also provide additional information such as: What’s new in this Version section, sign-in requirement for the users (if applicable) – this detail should be followed by a test or a demo account to Apple to ensure no hurdles integrated in the signing-in process.
With AI in iOS app development, you can now generate optimized descriptions, choose trending keywords, and localize metadata automatically for global visibility.
Step 8: Submission
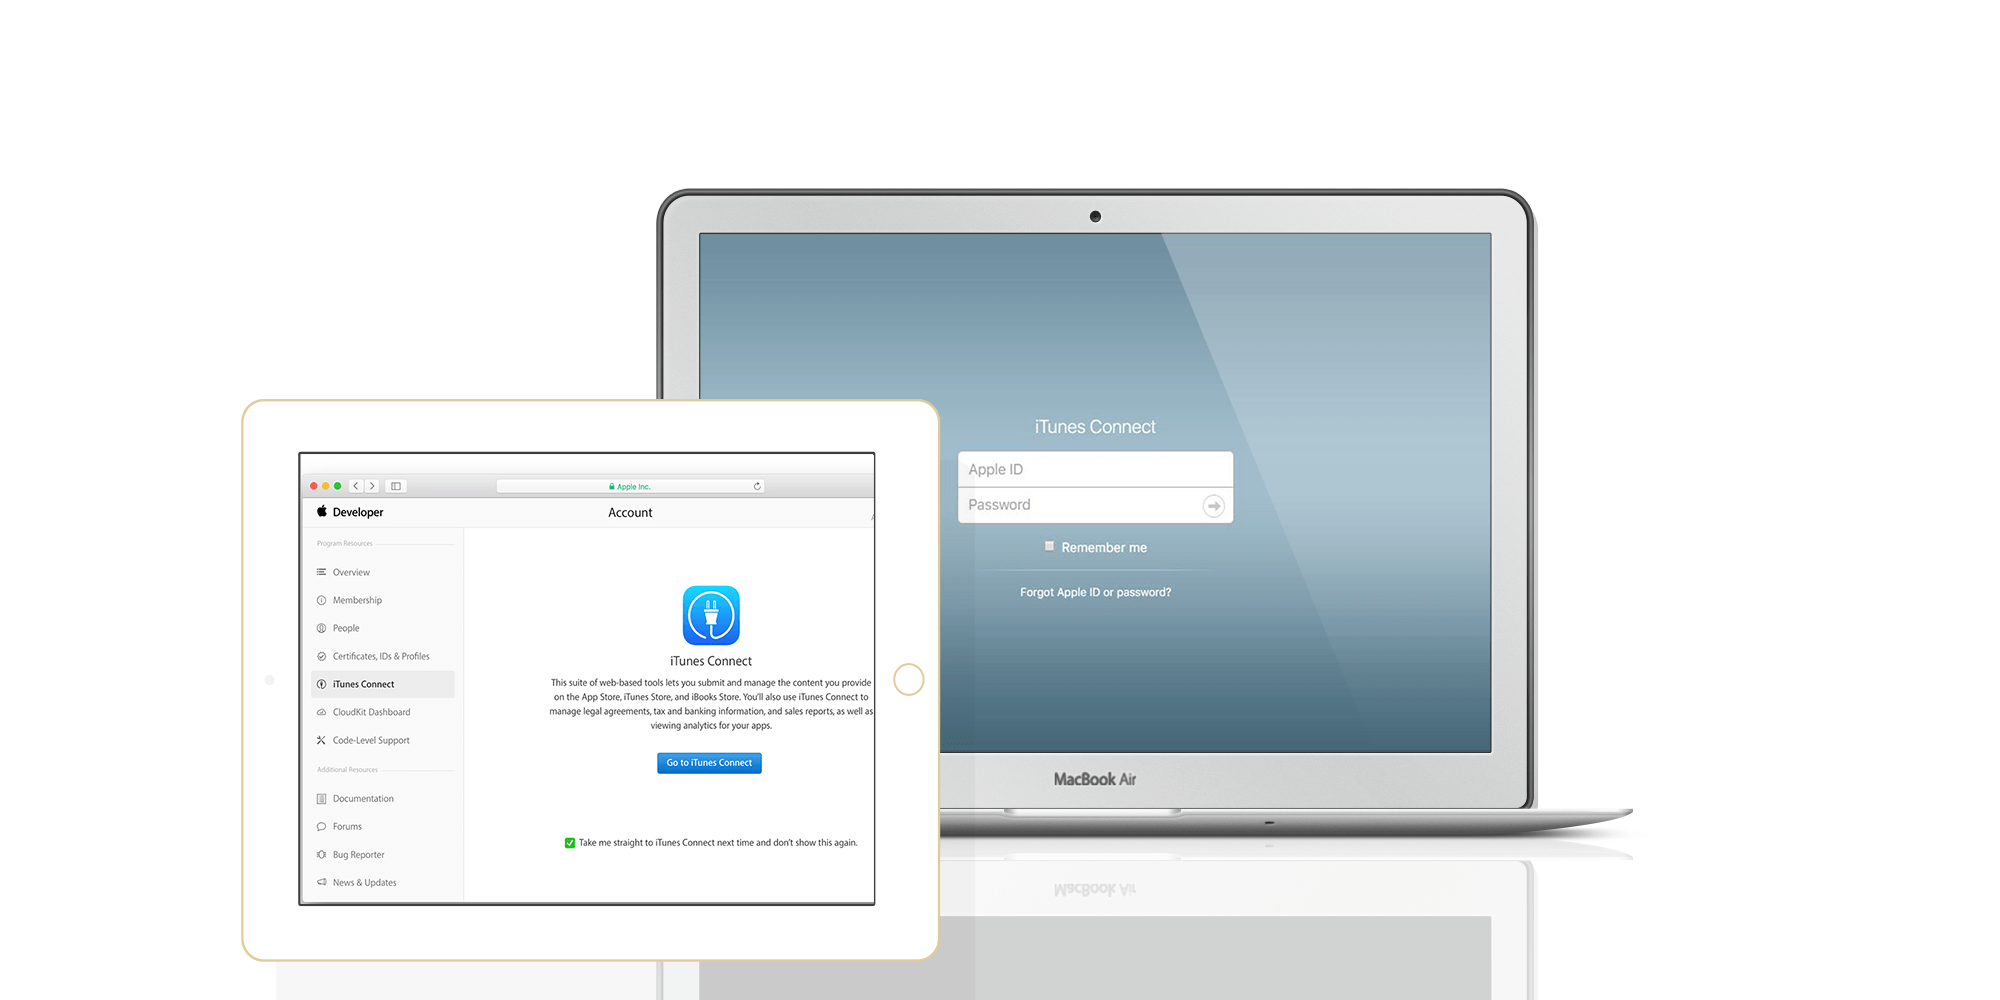
The release of Xcode 5 has made it quite easier for the developers to validate and submit an application, but you also need to create your application in iTunes Connect and the process follows:
- Visit iTunes Connect
- Sign in with your iOS developer account
- Click Manage Your Apps on the right
- Click the Add New App in the top left
- Select iOS App
- Fill out the form :
Basic Information
It includes a unique App Name; the SKU Number is a unique string that identifies your application and the Bundle ID of your application.
Price and Availability
It requires you to specify the application’s price and availability. Apple works with price tiers so that you don’t have to specify a price for each country that Apple operates in. Mention which stores your application will be available.
Note: The information provided in this step can be modified once your application is live in the App Store.
Rating
Based on your application’s content and functionality, you can set the rating system. It will help your users to know about your application’s content and features.
Note: Do not play with the excessive ratings to your app, since Apple can reject your application if it doesn’t agree with the rating that you have set.
The app submission process for iOS has become more transparent in 2025, with Apple using both AI-driven validation and manual review.
Step 9: Upload Binary
After metadata is submitted:
- Under Versions you can see the version you have just submitted
- Click the View Details button
- Click the Ready to Upload Binary button in the top right
- Answer the questions regarding your application
- You should see a message telling you that you are now ready to upload your application binary
- Now status of your application would change to Waiting for Upload
- Create an archive of your application on a physical device
- Select the archive from the list and click the Distribute button on the right
- Select Submit to the iOS App Store
- Enter your iOS developer account credentials
- Select the Application and Code Signing Identity
- Now, application binary is uploaded to Apple’s servers
Note: Your submission process can fail if an error occurs during the validation. This process would help you to save the horror of rejection from the App Store review team.
Step 10: Review Process
After the submission process, your application’s status will change to Waiting for Review, and it will take several days for Apple to review your application. Well, Apple’s review timeline is often shortened because of AI-driven pre-checks, though final approval still relies on human reviewers.
This tutorial would certainly help you to fight with the confusion you get to submit your apps to the app store.
Now, since AI is booming, let’s understand the role of AI in iOS app development & submission, and get some bonus tips on how to submit an app to the App Store successfully.
Bonus Tips for a Successful App Store Submission
Submitting your app is only the first step. To truly make your iOS app successful on the Apple App Store, you need to think ahead. These add-on strategies on how to submit an app to the App Store successfully will help you maximize visibility, adoption, and user trust. So, let’s start –
1) AI in iOS App Development
AI is no longer a fancy add-on; it’s at the core of modern apps. Using AI in iOS app development process can improve personalization, enhance user experience, and even make your app stand out to Apple’s review team.
- Personalization at scale – AI-driven algorithms recommend content, products, or services to users based on their behavior.
- Voice and vision integration – With SiriKit and Core ML, you can power voice recognition, object detection, and smart automation.
- Predictive engagement – AI helps you anticipate user needs, reducing churn and boosting retention.
When paired with a top iOS app development company like Techugo, AI features not only increase user engagement but also improve your chances of standing out in a competitive marketplace.
2) AI-Powered App Store Optimization (ASO)
Submitting your app is step one, but making it discoverable is equally crucial. AI is now incredibly helpful in App Store Optimization (ASO).
- Keyword intelligence – AI tools analyze trending searches and help identify the right keywords, like App Store submission or the app submission process for iOS.
- App creatives optimization – AI tests different icons, screenshots, and descriptions to see what boosts downloads.
- Competitor analysis – Machine learning models track top-performing apps and highlight what you should adopt.
Adding AI-powered app store optimization strategies ensures your app isn’t just approved, but also positioned for visibility and growth.
3) Mobile App Monetization for iOS
Approval is great, but revenue matters too. Once you submit an app to the App Store, you should think about mobile app monetization for iOS.
- Freemium model – Offer free access with premium upgrades for advanced features.
- In-app purchases – Sell digital goods, exclusive content, or service add-ons.
- Subscription plans – Recurring revenue streams like Netflix or Spotify have proven successful.
- Ad integration – With Apple’s privacy-first approach, carefully integrated ads can still drive earnings without compromising trust.
Pairing monetization with strong app store optimization ensures you generate both visibility and income.
4) Work With the Right Development Partner
The iOS app submission process is smoother when you work with the right experts. A top iOS app development company or cross-platform app developers in the USA can help you:
- Build high-quality, scalable apps.
- Integrate AI features seamlessly.
- Navigate Apple’s strict guidelines.
- Ensure compliance with performance, design, and security benchmarks.
If you’re unsure where to start, collaborating with professional iOS app developers guarantees faster approval and higher chances of success on the App Store.
“Take the Next Step with Techugo – the leading mobile app development company trusted by startups and enterprises worldwide.”
Why Partner with Techugo for Your iOS App Submission & Development?
Submitting your app to Apple’s App Store is just one part of the journey. To truly stand out, you need an expert partner who understands the iOS app submission process and user expectations. And also understands the latest innovations like AI in iOS app development and AI-powered App Store optimization. And that’s where Techugo steps in.
As a top mobile app development company in UAE, USA, and India, we have:
- Delivered 1400+ successful mobile apps across industries.
- Partnered with 800+ global brands, startups, and enterprises.
- Built solutions for clients in 30+ countries, ensuring market-fit products.
- A strong team of 200+ iOS app developers and cross-platform app developers in the USA, UAE, and India.
We don’t just help you submit an app to the App Store; we ensure your app is optimized for discovery, monetization, and user engagement. From strategy and design to the iOS app development process and post-launch growth, Techugo is your partner for success.
So, if you’re looking for an Apple App Store submission guide backed by expert hands, connect with Techugo. Together, we’ll not only get your app live but also help it thrive.
“The App Store is competitive, but your app deserves the spotlight. Let’s build your iOS app the right way.”
We at Techugo blend creativity, AI-powered app development, and industry experience to make your app launch seamless and impactful. Schedule your free consultation with Techugo, your trusted mobile app development company in UAE, USA, and India.
FAQs
Q1. How to submit an app to the App Store?
To submit an app to the App Store, you need an Apple Developer Account, App ID, provisioning profile, distribution certificate, and then upload the build via Xcode before submitting for review.
Q2. How long does the iOS app submission process take?
The app submission process for iOS usually takes 24–48 hours, but in some cases it’s up to a week. Apple uses both AI and manual review for approvals.
Q3. Why does Apple reject apps?
Apple rejects apps due to some most common reasons, which include bugs, poor UI, non-compliance with privacy policies, and misleading metadata.
Q4. Can cross-platform apps be submitted to the Apple App Store?
Yes, cross-platform apps can be submitted to the App Store, but they must comply with Apple’s iOS standards. Many cross-platform app developers in USA use Flutter, React Native, or Xamarin for iOS-ready builds.
Q5. How to improve app store optimization for iOS apps?
To improve app store optimization for iOS apps, use relevant keywords, compelling visuals, and consider AI-powered app store optimization tools (AppTweak, AppFollow, and App Radar) for better rankings.
Q6. What is the cost of App Store submission?
App Store Submission cost for an Apple Developer Account is $99/year. Additional costs may include testing tools and developer support.
Sum Up
Submitting an app to the Apple App Store may feel overwhelming at first, but with the right guidance, it becomes a smooth and structured journey. Plus, with some smart strategies like ASO (app store optimization), AI-driven insights, and post-launch updates, your app stands a much better chance of thriving in the competitive iOS market.
If you want your launch to be seamless and impactful, partnering with an experienced, top mobile app development company like Techugo can make all the difference.
If you have enjoyed this Apple app submission guide, share it with your friends and peers using the social buttons. However, if you have got any mobile app concept, you can get in touch with our team of expert iOS developers and designers to further discuss your concept to bring it to reality. The discussion would help you to gain a better insight into your mobile app requirements. Book a free consultation today.
Get in touch
We'd love to hear from you.